How to Improve Brake Pressure Control in Sim Racing
If I ask you to brake at 70%, can your left foot find 70%?
Not 55%. Not 90% followed by a correction. And not 70% only because you are staring at the brake input on the screen.
That simple question tells us a lot about your brake pressure control.
Many sim racers spend hours learning braking points, setups and racing lines, but very little time actually training the movement of the left foot.
Then, when the car needs a precise brake input, they are asking their foot to perform a movement it has barely practiced.
So before we talk about braking later, let's work on something more basic:
Can you make the brake pedal do what you intended?
Brake Pressure Control Is Not About Finding One Perfect Percentage
One of the easiest mistakes to make is thinking there is a "correct" brake pressure.
There isn't.
A corner might require heavy initial braking followed by a gradual release. Another might only need a short, light brake input. A car with ABS will behave differently from one without it. Downforce, tyres, speed and brake settings all change what the car will accept.
So the goal of brake pressure training isn't to learn that 70% is good or that 90% is bad.
The goal is to develop enough control that when the situation calls for a certain input, your foot can produce it.
Think of it like steering.
You wouldn't train yourself to turn the wheel exactly 40 degrees every time you reach a corner.
You train the ability to make different steering inputs accurately.
Your brake foot needs the same kind of control.
First, Find Out What Your Foot Is Actually Doing
Before trying to improve anything, do a simple test.
Put your feet on your normal sim racing pedals.
Choose a target:
60% brake pressure.
Without slowly creeping toward it, press the pedal as if you needed that pressure during a real braking zone.
Look at where you landed.
Release the brake completely.
Try again.
Do ten attempts.
If your results look something like:
58%
61%
59%
63%
60%
your foot already has a fairly clear sense of that target.
If they look more like:
48%
76%
55%
82%
63%
you've found something worth training.
Don't be frustrated by the numbers. This isn't a lap-time competition.
The variation is information.
Stop Correcting Every Attempt
This is important.
Imagine the target is 70%.
You press the pedal and land at 62%.
Your instinct may be to push a little harder until the display says 70%.
Don't.
At least not during this exercise.
If you always correct the input after seeing the number, you are mostly training your eyes to guide your foot.
Instead, make one deliberate input.
See where it landed.
Release.
Try again.
The feedback comes after the attempt, not during it.
Over repeated attempts, your foot begins to associate a certain amount of force with the result.
That's the skill we're looking for.
Exercise 1: Large Pressure Changes
Start with targets that feel clearly different.
For example:
30% → 60% → 90%
Make one attempt at 30%.
Release completely.
Then 60%.
Release.
Then 90%.
At this stage, don't worry about being one or two percent away.
I want you to feel that these are three genuinely different brake inputs.
If all three involve the same aggressive stomp followed by a correction, slow the exercise down and regain control.
Accuracy comes before speed.
Exercise 2: Bring the Targets Closer Together
Once large pressure differences become comfortable, make the exercise harder.
Try:
50% → 60% → 70%
Then:
60% → 65% → 70%
Now your foot has to distinguish between much smaller changes in force.
This is where a load cell pedal can be particularly useful because the braking input is primarily related to the force you apply rather than simply how far the pedal travels.
But don't turn this into a load-cell equipment debate.
Better hardware doesn't automatically create better pedal control.
You still have to train the foot using it.
Exercise 3: Hit the Target Without a Warm-Up
In a race, the next braking zone doesn't ask whether you're ready.
So once you're comfortable with repeated targets, randomize them.
For example:
72%
Release.
38%
Release.
84%
Release.
55%
Now you cannot simply repeat the same muscle action.
You have to interpret the target and produce a different input.
This is much closer to what we actually want from pedal training: adaptable control rather than memorizing one force level.
Peak Pressure Is Only Half the Job
Let's say you can hit 80% perfectly.
Good.
What happens next?
If you can reach the correct peak pressure but cannot control what happens as you come off the brake, you have only trained half of the movement.
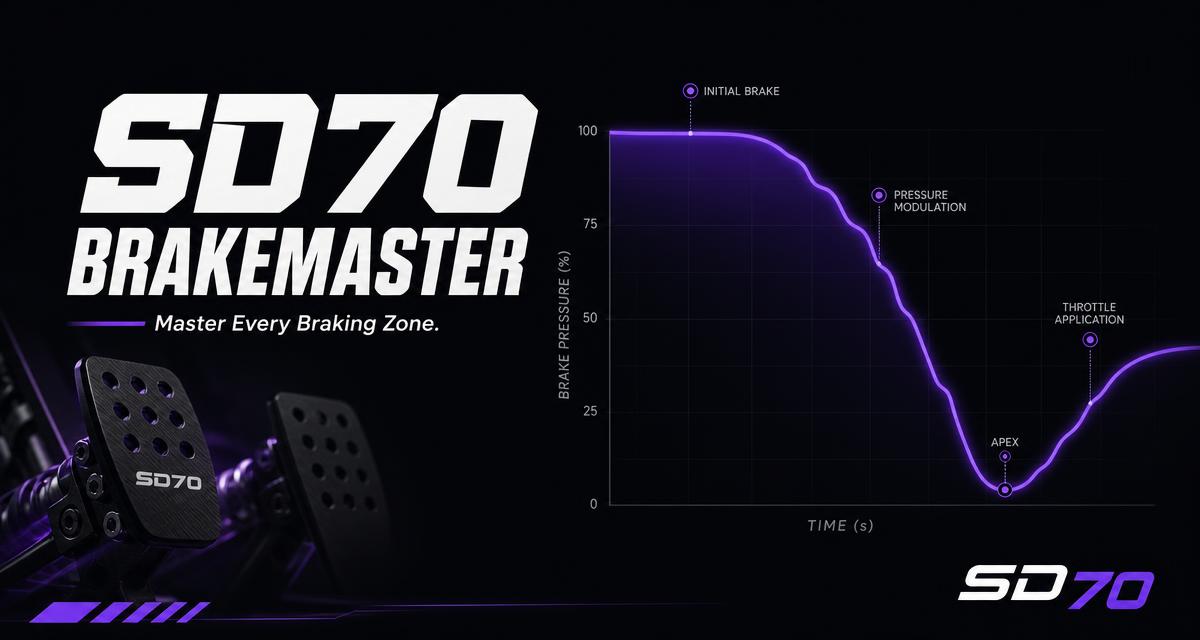
A real braking trace doesn't end at peak pressure.
You may need to reduce braking as speed falls or as you begin to turn.
So we need to train the other direction too.
Exercise 4: Controlled Brake Release
Start at a relatively high brake pressure.
For example:
80%.
Then reduce it deliberately:
80% → 60% → 40% → 20% → 0%
At first, you can make each step obvious.
Later, try making the release smoother.
Don't think of this exact pattern as the "correct" way to brake into a corner. It isn't.
We're isolating a movement.
The exercise is teaching your foot that releasing the brake doesn't have to mean suddenly removing all pressure.
That's important when you begin working seriously on trail braking.
Exercise 5: Hold the Pressure
Some drivers can hit a target but cannot keep the pedal there.
Try reaching:
65%.
Now hold it for two seconds.
Watch the input.
Does it stay close to 65%, or does it wander?
You may see:
65% → 69% → 62% → 67%
That tells you something different from simply missing the initial target.
Your first movement may be accurate, but maintaining steady force is difficult.
Practice both skills separately.
Reaching a pressure and holding a pressure are not exactly the same task.
Don't Make the Pedal Too Difficult Just to Make It "Realistic"
A very stiff brake pedal isn't automatically a better brake pedal.
Neither is a soft one.
What matters is whether your setup gives you a useful range of control and whether you can reproduce inputs consistently.
If your maximum brake force is so high that every heavy braking event becomes a strength exercise, that may hurt consistency.
If the usable range is extremely small, precise modulation may become harder.
Set the pedal so you can control it.
Then leave it alone long enough to learn it.
Constantly changing pedal force, elastomers, calibration and sensitivity makes it harder for your left foot to build a stable reference.
Use Telemetry as Feedback, Not as Something to Chase
Telemetry is extremely useful.
But there's a difference between looking at what happened and trying to drive the graph.
Make the brake input first.
Then examine it.
Was the initial application clean?
Did you overshoot?
Could you hold the pressure?
Was the release smooth?
Were repeated attempts similar?
The trace should help you understand your movement.
It shouldn't become something you desperately try to draw while driving.
When Should You Make the Exercise Faster?
Not immediately.
If you cannot reliably hit a target when you have plenty of time, making the exercise faster usually produces faster mistakes.
Start with control.
Once your accuracy improves, reduce the time available.
Now you're asking the foot to preserve that accuracy under more realistic conditions.
This progression matters:
Understand the movement → control the movement → repeat the movement → increase the speed.
Not the other way around.
Take the Skill Back to the Simulator
Pedal exercises are not a replacement for driving.
Eventually, everything has to work in the car.
After a short brake pressure training session, go back to your simulator and choose one braking zone.
Don't immediately chase your personal best.
Pay attention to one thing.
Maybe it's peak pressure.
Maybe it's avoiding an initial overshoot.
Maybe it's the release.
Run several laps and compare them.
If your braking traces start becoming more repeatable, the isolated training is doing what we wanted: giving you better control to use during actual driving.
For the broader approach to braking consistency, read How to Improve Braking in Sim Racing.
Practice Brake Pressure With Your Own Pedals
Reading about pedal control won't train your foot.
This is exactly the kind of isolated practice the BrakeMaster Brake Pressure Trainer is designed for.
Connect your sim racing pedals and work on reaching different pressure targets without needing to drive another full session.
Try the Brake Pressure Trainer
Use it as a short focused exercise, then go back to the simulator and see whether your braking becomes easier to reproduce.
The objective isn't to become good at hitting percentages on a screen.
The objective is to develop a left foot that does what you ask it to do.
One Thing to Work on Today
Don't try all five exercises at once.
Start with ten attempts at one target.
Try 60%.
Make the input.
Don't correct it.
Look at the result.
Release.
Repeat.
If the ten attempts begin grouping closer together, you're already working on the thing that matters:
not simply producing brake pressure, but controlling it.