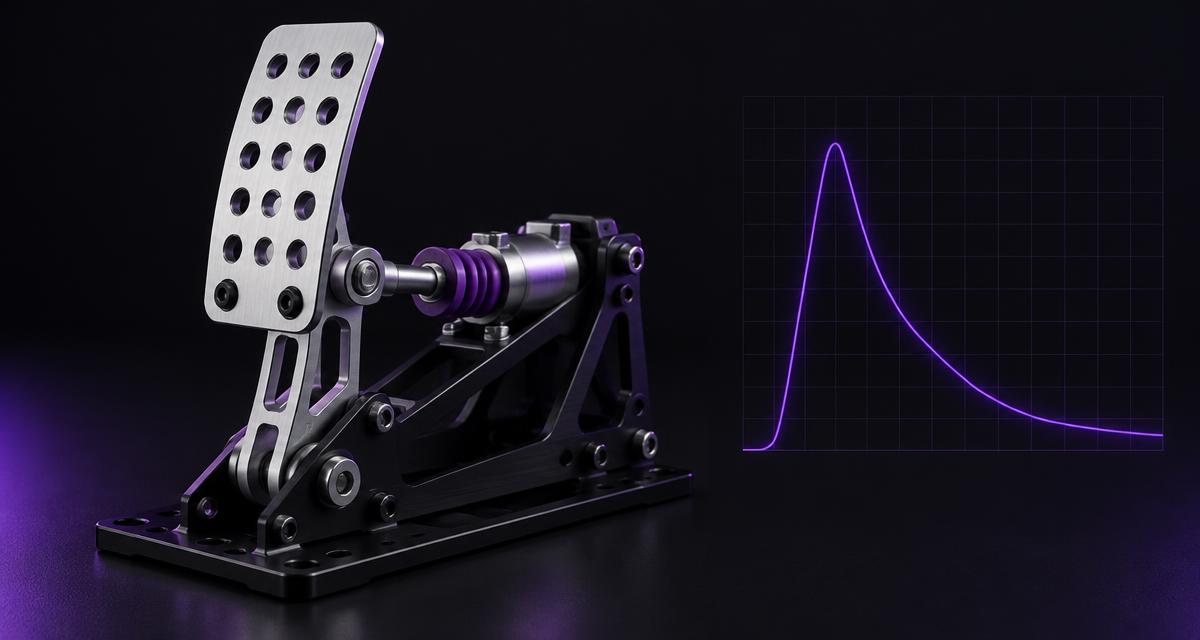
Brake Release: The Most Overlooked Part of Braking
A driver can hit the braking marker perfectly and still lose time at the end of the braking zone. The first press is strong, but the foot comes off too quickly—or stays down too long.
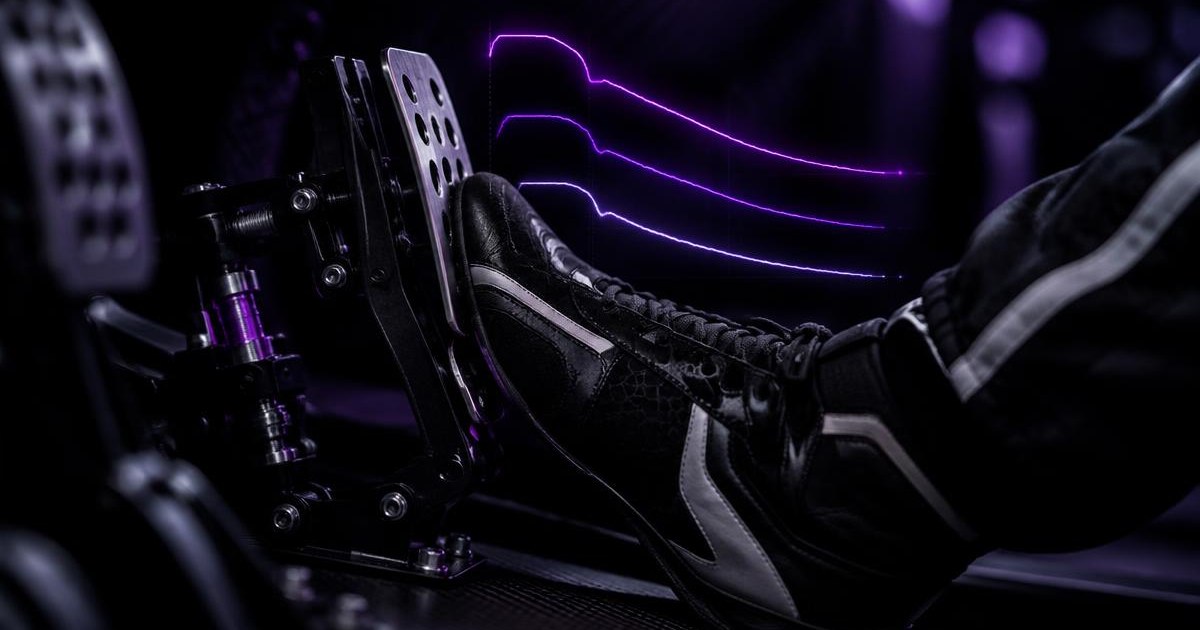
A driver can hit the braking marker perfectly and still lose time at the end of the braking zone. The first press is strong, but the foot comes off too quickly—or stays down too long.
That final movement rarely gets the same attention as peak pressure. It should.
Brake release gives the tyres more capacity to turn. The aim isn't a beautiful curve; it's a predictable car.
The Last Part of Braking Has a Job
Imagine two drivers entering the same slow corner at the same speed. Both brake at the same board and reach a similar peak pressure.
One holds pressure until late, then lifts instantly. The other reduces pressure earlier and arrives at turn-in settled.
Neither approach is automatically faster. A quick release can be correct, but an unintended abrupt lift can make entry harder to repeat.
The goal is control over when the release begins and how quickly it happens.
You can practise that separately from lap time.
First, Separate Timing From Shape
Two mistakes can feel similar but need different fixes.
Release timing is when you begin taking pressure away. Too early can mean coasting; too late can mean braking when you want to turn.
Release shape is how the pressure falls. A sudden drop and a steady taper produce different transitions.
Before changing anything, ask which problem you actually have.
Compare laps through one corner. If release starts at different points, fix timing. If timing is stable but the trace is jagged, work on the movement.
Don't try to solve both by braking later.
Drill 1: Own the Final 30 Percent
Start away from the track, using a calibrated brake pedal and a pressure display.
Press to a comfortable, repeatable level. Hold briefly, then release to around 30%. From there, move slowly and deliberately to zero.
Repeat ten times.
You're learning to feel small changes near the end of the pedal range.
Watch for two habits: dropping straight from 30% to zero, and stopping at 5–10% without noticing.
On a load-cell pedal, reduce leg force deliberately. On a travel-based pedal, control the final part of the stroke.
Don't stare at the graph during every attempt. Try the movement, then check what happened.
Drill 2: Try Three Different Releases
Now practise three deliberate patterns from the same starting pressure.
Quick: a prompt, clean release to zero.
Progressive: a steady reduction without a pause.
Two-stage: a larger initial reduction followed by a slower final release.
Do five attempts of each. These are drills, not ideal profiles for a car.
Can you make the three patterns genuinely different? Can you repeat each one without watching the input bar?
If every attempt looks like the same accidental step down, your foot is choosing the release for you.
The aim is to build options, not declare one curve the winner.
Drill 3: Test One Corner, One Change
Return to the simulator and choose a familiar braking zone with a clear reference point.
For three laps, note release timing, steering and whether you hit the apex cleanly.
Then keep your braking marker and initial press as consistent as possible. Change only the final release.
Try a slightly earlier taper for three laps. Then return to baseline and try a slightly quicker finish.
Compare the car's response, not just the prettiest telemetry line.
If the car coasts before turn-in, you may be finishing too early. If it refuses to rotate or you repeatedly miss the apex, check entry speed and whether you are still asking too much of the tyres. If the rear becomes unsettled, steering, setup and grip may also be involved.
Use exit speed and repeatability to judge the result. One heroic lap is weak evidence.
Smooth Does Not Always Mean Slow
Drivers sometimes hear “smooth braking” and turn every pedal movement into a long, gentle fade.
That can cost time.
In some corners you need a decisive release. In others, a gradual reduction helps the car transition into steering. The useful skill is being able to do either on purpose.
Brake release and trail braking are related but different. You can practise releasing the pedal precisely without carrying brake into the corner at all. Trail braking adds the challenge of managing brake pressure while steering.
If you are working on that overlap, see our guide to trail braking in sim racing.
Five Minutes Before Your Next Session
Open the BrakeMaster Trail Braking Trainer and practise controlled releases with compatible pedals. Spend two minutes on a steady taper, two on a quicker release, and one trying to repeat your preferred pattern without watching the trace.
BrakeMaster trains your pedal movement; it cannot tell you the perfect release for every corner. Use the simulator to find out which movement the car actually needs.
If your initial pressure is inconsistent too, start with the Brake Pressure Trainer.
A good brake release is not always slow or always smooth. It is deliberate—and repeatable when the corner demands it.